How to Document Roof Damage for Your Insurance Claim (With Photos)
Have a question about this topic?
Have a question about this topic?
Ask Roofster — our AI roofing expert is available 24/7.
Ask Roofster — our AI roofing expert is available 24/7.
Good documentation is the difference between a roof claim that gets approved and one that gets underpaid or denied. We’ve been at hundreds of adjuster inspections across Mid-Michigan, and the pattern is consistent: homeowners who photograph everything systematically within a day or two get better outcomes than homeowners who snap a few shots from the driveway and hope for the best.
Insurance adjusters need evidence of three things: what caused the damage, when it happened, and how far it extends. Your photos, video, and written notes are that evidence. Here is the process we walk every homeowner through when they call us after a storm.
Before the Storm: Build Your Baseline
The strongest documentation starts before anything happens. Photograph your roof once a year, ideally before Michigan’s storm season kicks off in April. Walk all four sides of your property and capture the full roofline from each corner. Get close-ups of flashing, vents, pipe boots (the rubber seals around plumbing vents), and any areas of existing wear.
Store these photos with date stamps intact. If you ever file a claim, these “before” images are your most powerful defense against the most common denial reason we see: the insurer argues the damage was pre-existing.
Most homeowners skip this step entirely. But preparing your roof before storm season puts you in a much stronger position if you need to file a claim in July.
Key takeaway: Annual baseline photos before storm season are the single best insurance you can give yourself against a “pre-existing damage” denial.
The 24-48 Hour Documentation Checklist
Once a storm hits, work through this checklist as soon as it is safe to go outside. Adjusters give more credibility to claims documented within days, not weeks or months.
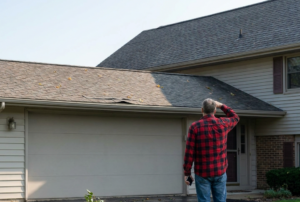
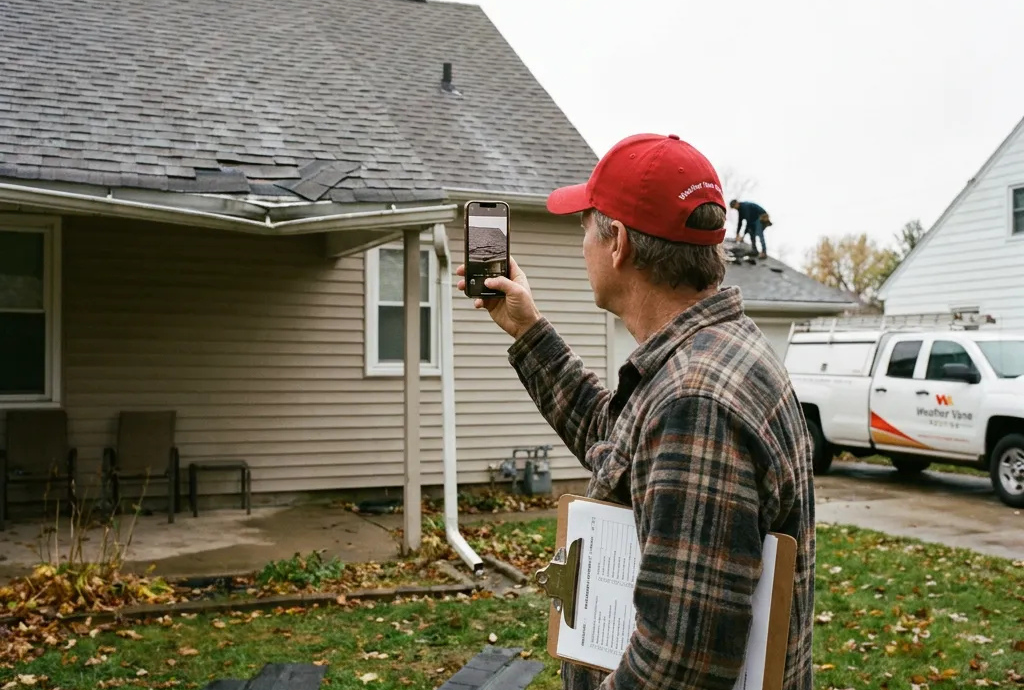
1. Safety first. Do not climb on a damaged roof. Use your phone’s zoom from ground level, shoot through upstairs windows, or use a drone or extendable pole camera. If you cannot safely see the damage, that is what your contractor is for.
2. Wide shots from all four corners. Stand at each corner of your property and photograph the full roofline. These establish context and location for the adjuster.
3. Medium shots of each damaged area. Move closer from the ground to show the extent of damage on each roof plane. Include surrounding undamaged areas so the adjuster can see the contrast.
4. Close-ups of specific damage. Missing shingles, lifted flashing, dented vents, cracked pipe boots, granule accumulation in gutters. Place a coin or ruler next to the damage for scale.
5. Interior damage. Water stains on ceilings and walls, damp drywall, active leaks, attic moisture, daylight visible through roof decking. Interior evidence corroborates what the adjuster sees on the outside.
6. Collateral damage. Dented gutters, damaged siding, broken screens, downed tree limbs on the property. Collateral damage proves the storm event affected your specific address.
7. Narrated video walkthrough. Walk the perimeter slowly, describing what you see out loud. Pan from wide to close on each damaged area. Do not edit the video afterward.
8. Weather verification. Screenshot any weather alerts from your phone. Pull the NOAA storm report for your county and date from weather.gov. This is the “evidence of the storm event” that adjusters require, and Michigan adjusters specifically accept NOAA reports as primary verification.
9. Written log. Note the date and time you discovered the damage, weather conditions during the storm, what you observed, and any temporary repairs you made. Photograph temporary repairs before and after you make them.
Key takeaway: Aim for 20 to 30 photos minimum. Homeowners who document systematically within 48 hours see faster processing and higher approval rates.
Photo Quality Tips That Actually Matter
Taking 30 bad photos is not much better than taking 3. Here is what separates documentation that works from documentation that does not.
- Enable location and timestamp in your phone’s camera settings. These metadata tags prove when and where each photo was taken.
- Shoot in natural daylight. Overcast skies are actually ideal because they eliminate harsh shadows that hide damage details.
- Include a scale reference next to each damage area. A coin, ruler, or tape measure shows the adjuster exactly how large a dent, crack, or missing section is.
- Do not edit, crop, or filter any photos. Adjusters need originals. Edited images raise questions about authenticity.
- Organize into labeled folders: exterior-north, exterior-south, interior, gutters, collateral. This makes the adjuster’s job easier, which works in your favor.
- Back up everything to cloud storage immediately. Phones get lost, dropped, and damaged. Do not let your evidence disappear with a cracked screen.
What Your Contractor Documents That You Cannot
An experienced roofer sees damage patterns that are invisible from the ground and unfamiliar to most homeowners. When we inspect a storm-damaged roof, we are documenting things a homeowner’s phone photos will never capture:
- Hail bruising on shingles that requires pressing the surface to detect. A hail strike can compromise the shingle mat without being visible in a photo. Knowing what hail damage actually looks like versus normal wear is the first step, but confirming it requires hands on the roof.
- Nail pops and lifted tabs that are only visible at roof level.
- Ice-and-water-shield absence in valleys. Michigan building code requires this protective membrane in valleys, at eaves, and around penetrations. If your current roof lacks it, that becomes part of the replacement scope.
- Flashing separation at walls and chimneys that lets water behind the shingles.
- Attic-side moisture, wet insulation, and daylight through decking.
- Measurements for Xactimate scoping (the estimating software adjusters and contractors use to price repairs line by line).
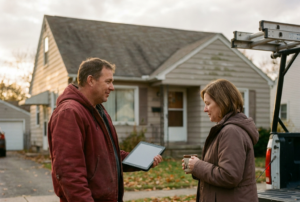
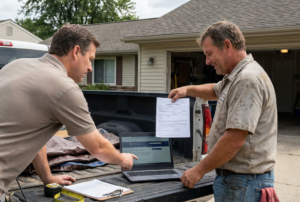
Having your contractor present during the adjuster’s inspection changes outcomes. The contractor sees damage the adjuster may miss, can explain damage patterns in the adjuster’s own language, and can file supplemental claims for hidden damage found during tear-off. A professional roofing inspection covers things that DIY inspection simply cannot reveal.
Key takeaway: Your phone photos start the documentation. Your contractor’s inspection completes it.
Five Documentation Mistakes That Get Michigan Claims Denied
We see these patterns repeatedly across denied and underpaid claims in Mid-Michigan.
- Waiting too long to document. Evidence degrades with every rainstorm after the event. Claims filed months later face skepticism about whether the damage is actually storm-related.
- Making permanent repairs before documenting. Temporary repairs are fine and expected. But if you replace damaged shingles before anyone inspects the originals, you have removed the evidence. Photograph everything before you fix anything.
- Skipping interior damage documentation. Adjusters use water stains, damp drywall, and attic moisture to corroborate exterior damage. No interior evidence means the adjuster has to take the exterior damage at face value, which weakens the claim.
- No weather verification. Without a NOAA storm report or weather alert screenshot, you have no independent proof that a covered weather event hit your property on the date you claim it did.
- Too few photos without context. Five photos of the same spot from the same angle do not tell the adjuster anything about the scope of damage across the entire roof. Wide, medium, and close-up shots from multiple positions tell the full story.
Michigan-Specific Documentation Notes
Filing timeline. Michigan technically allows 12 months from the date of damage to file a claim. In practice, claims filed within days carry far more credibility than claims filed months later. Do not treat the 12-month window as a grace period.
Storm season timing. Mid-Michigan’s severe weather runs from April through August, peaking in June and July. Hail, straight-line winds, and tornado-strength events are all common in the Lansing-to-Grand Haven corridor. Knowing how Michigan’s summer storms damage your roof helps you understand what to look for after each event.
DIFS complaint process. If your claim is denied or underpaid and you believe the denial is wrong, you can file a complaint with the Michigan Department of Insurance and Financial Services at 877-999-6442 or michigan.gov/difs. A well-documented claim gives DIFS more to work with if they investigate.
Code requirements. If the damage inspection reveals your current roof lacks code-required elements like ice-and-water shield in valleys, that deficiency becomes part of the replacement scope under Michigan building code.
For the full step-by-step filing process, our guide to filing a roof insurance claim in Michigan walks through everything from the initial phone call to the final payment.
Let Us Document It for You
If your roof took damage in a recent storm, Weather Vane Roofing provides free storm damage inspections across Mid-Michigan. We attend the adjuster’s inspection, document damage professionally, and advocate for the full scope of repair or replacement your home needs.
Our Repair-First approach means we tell you what your roof actually needs, even if the honest answer is a repair, not a replacement. The $1,000 Repair Credit Guarantee means you do not lose money by starting with the conservative option.
Schedule a free storm damage inspection or Ask Roofster if you have a quick question about your damage right now.